
Archives 2024

A Guide to Making Your Child’s Bed

Creating a comfortable and tidy bedroom for your child starts with the basic task of making their bed. Understanding the different parts of the bed is essential in this process. A well-made bed provides not only a clean and aesthetically pleasing sleep environment but also promotes good hygiene and can enhance sleep quality. By familiarizing yourself with the components such as the mattress, sheets, and blankets, you can ensure that each part is properly arranged for your child’s comfort.

Essential Bedding Components

Mattress

The foundation of any bed is the mattress. It’s essential to select a mattress that provides the right balance of support and comfort for your child, considering options from foam to innerspring varieties.

Fitted Sheet

This is the sheet that lies directly over the mattress. Designed with elastic corners or edges, it ensures a snug fit and prevents the sheet from slipping off. A fitted sheet also acts as a barrier to protect the mattress and provide a soft surface for your child to sleep on.

Comforter or Duvet

Choose between a comforter and a duvet for the top blanket. Comforters are simpler as they do not require a cover, whereas duvets are protective bags that can be washed or changed easily. Depending on your preference, you can add a flat sheet under the comforter or duvet for additional comfort.

Pillows

Ensure that your child has a comfortable pillow that supports their head and neck properly. You can also include a few decorative throw pillows to add a touch of style and fun to their bed.

Optional Bedding Enhancements

Mattress Pad or Topper

Adding a mattress pad or topper can provide extra comfort or support, which can be particularly beneficial if your child’s mattress is too firm.

Mattress Protector

A mattress protector is a good investment to protect the mattress from spills and stains, and it’s especially useful for young children.

Bed Skirt

If you’re using a bed frame, a bed skirt can neatly hide the space underneath the bed, which is often used for storage.

Step-by-Step Guide to Making the Bed

Start with the Bed Skirt: Place the bed skirt on the bed frame or box spring, aligning it properly, and then replace the mattress on top.

Secure the Mattress Pad or Topper: Lay the pad or topper on the mattress, aligning it and securing it with straps if available.

Add the Mattress Protector: Fit the protector over the mattress, ensuring it covers every corner snugly to create a smooth surface.

Put On the Fitted Sheet: Attach the fitted sheet starting from one corner and stretching it across to ensure a tight fit on all sides.

Lay Out the Flat Sheet (if using): Center the flat sheet on the bed, tucking in the sides and the bottom to keep it in place.

Place Your Comforter or Duvet: Arrange the comforter or duvet neatly on the bed, allowing some space at the top for pillows.

Fluff Up Your Pillows: Place the pillows in clean pillowcases, fluffing them up for optimal comfort.

Top Off with Throw Blankets and Pillows: Add decorative throw pillows and a throw blanket for a cozy and inviting look.

Additional Tips
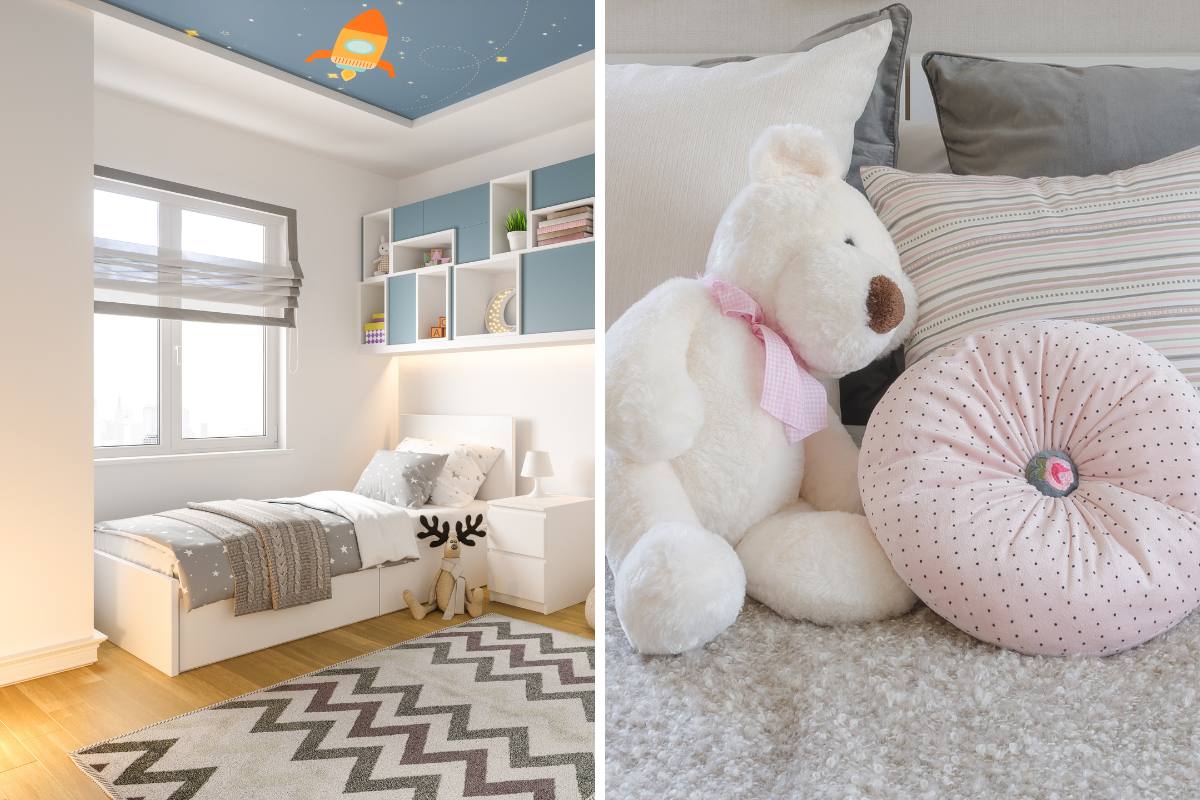
Make Your Bed Daily: Encourage your child to make their bed every day. This keeps the kids room tidy but also instills good habits.

Find Bedding That Fits Your Style: Let your child have a say in the bedding choices to reflect their personality and preferences.

Wash Your Bedding Regularly: Keep your child’s bedding clean by washing it at appropriate intervals—sheets weekly, comforters every two to three months, and pillows every four to six months.
Creating a Drag and Drop Online Furniture Game for ESL Students

Playing classroom review games online with ESL students can significantly enhance the learning experience. One such effective educational game is a drag-and-drop game. This game engages students actively, reinforcing their understanding and recall of new words through interactive play. Here is how to design an online drag-and-drop game focused on furniture vocabulary for an ESL classroom.

Game Goal

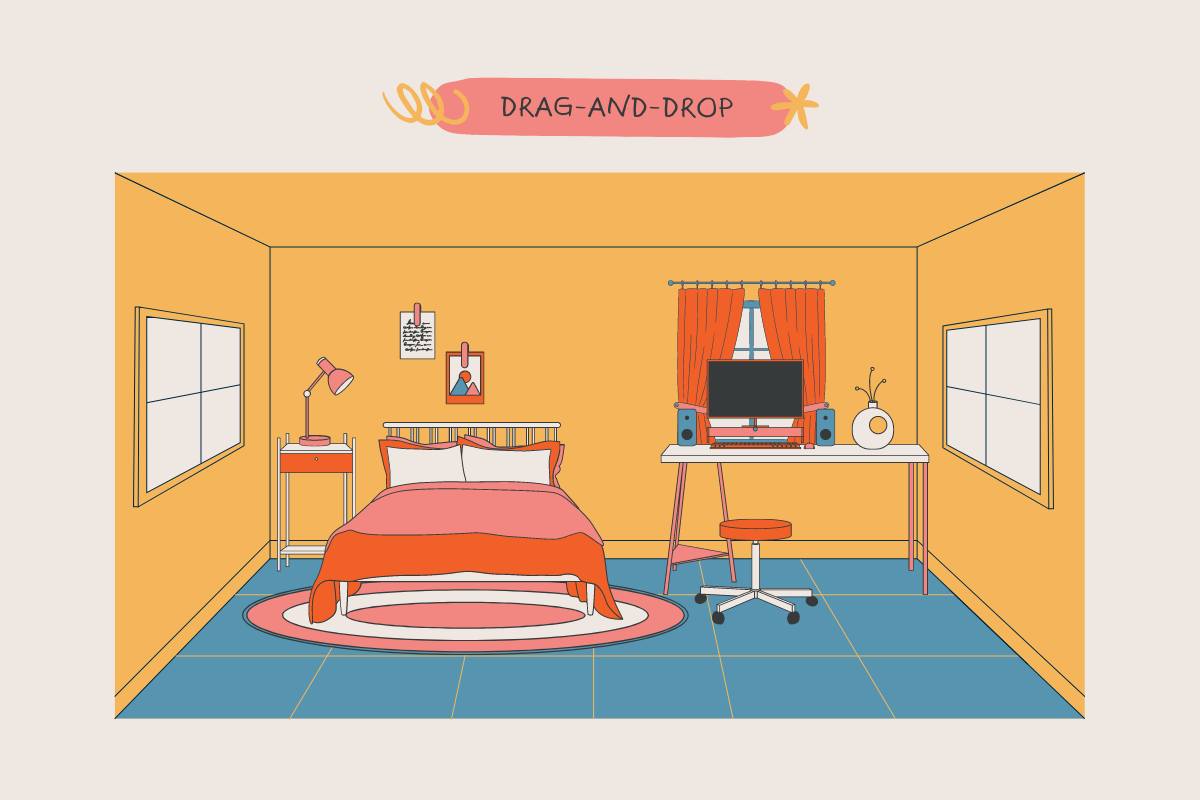
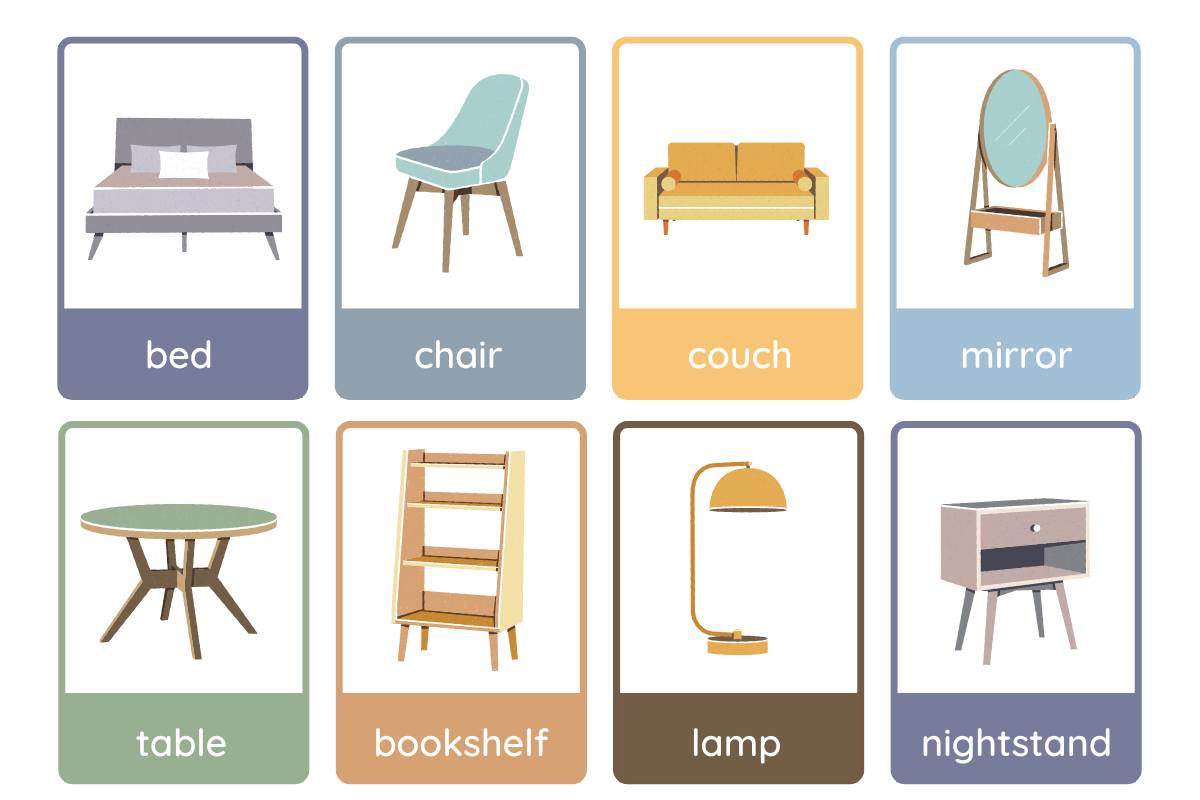
The primary objective of the drag-and-drop furniture game is to help students learn and remember the names of different furniture items in English by associating textual labels with corresponding images. In this game, students are presented with images of various furniture pieces along one side of the screen and word labels on the other. The challenge is to drag each word and drop it onto the matching furniture image. Successfully pairing all items correctly reinforces word recognition and vocabulary recall through repetitive and visual association, making it a powerful learning tool.

Materials Needed

To create this drag-and-drop game, several materials and digital assets are required. First, you’ll need clear and visually distinct images of kids room furniture items such as chairs, tables, beds, shelves, and rugs. Each image should be free from distracting backgrounds and consistent in style to maintain focus and cohesion in the game design. Additionally, you will need a software tool or platform that supports the creation of drag-and-drop mechanics. Options like LearningApps.org, Adobe Captivate, or Google Slides (with its interactive features) can be very useful. You’ll also need internet access to a classroom computer or tablet to run the game.

Preparation

Preparation for the drag-and-drop game involves several key activities. Begin by collecting and preparing all the images of furniture that you will use in the game. Each image should have a corresponding text label in a clear, easy-to-read font. Once your images and text labels are ready, use your chosen software to create the game interface. This involves placing the images on one side of the screen and the labels on the other. Implement the drag and drop functionality, ensuring that each text label can be smoothly dragged over to an image and that the software provides feedback when a match is correct or incorrect.

Game Rules

The rules of the drag-and-drop game are straightforward, making it easy for students of all ages and language proficiency levels to participate. At the start of the game, all furniture images are displayed on one side of the screen, and the word labels are aligned on the opposite side. Students must click (or tap, if using a touchscreen) on a label and drag it across the screen to drop it onto the corresponding image. Correct matches remain linked, while incorrect attempts might either snap back to their starting position or prompt a brief visual or auditory cue to indicate the error. The game continues until all items are correctly matched. To increase the educational value, the game could be timed, or students could be asked to beat their previous scores, adding a competitive element.

Extra Tips

For a more enriching learning experience, consider adding several layers of complexity and engagement to the game. Including audio pronunciations of the furniture names as they are matched correctly can cater to auditory learners and help with pronunciation. You could also vary the difficulty level by introducing more furniture items or similar-sounding words as the students advance. Feedback is crucial, so ensure the game provides immediate and clear responses to the student’s actions. After implementing the game in the classroom, gather student feedback and observe their interaction to refine the game further, ensuring it remains an effective learning tool.